


Never buy canned refried beans again! Make easy refried black beans in 20 minutes using canned black beans and my secret ingredient for the creamiest, tastiest vegan frijoles negros refritos with no added oil.
What’s the secret to creamy black refried beans? It’s right in the can! Not the beans, but the liquid (aquafaba). That's what we'll use to make velvety smooth refritos. It's the same method I use for making creamy oil-free hummus and lime onion black bean dip.

If you're looking for a quick side dish, something to pair with my vegan taco meat recipe and easy potato tortillas for hearty burritos, or a spread for loaded vegan nachos topped with vegan sour cream and spicy pico de gallo, look no further. These are the best refried beans. And you're minutes away!
Table of Contents
⭐ Why You'll Love This Recipe
- Making perfect refried beans is SO easy and nearly as quick as heating up the canned kind.
- You probably have the simple ingredients for this easy recipe on hand.
- 10 minutes of simmering is all you need for the perfect texture, better than your favorite Mexican restaurant.
📋 Recipe Ingredients
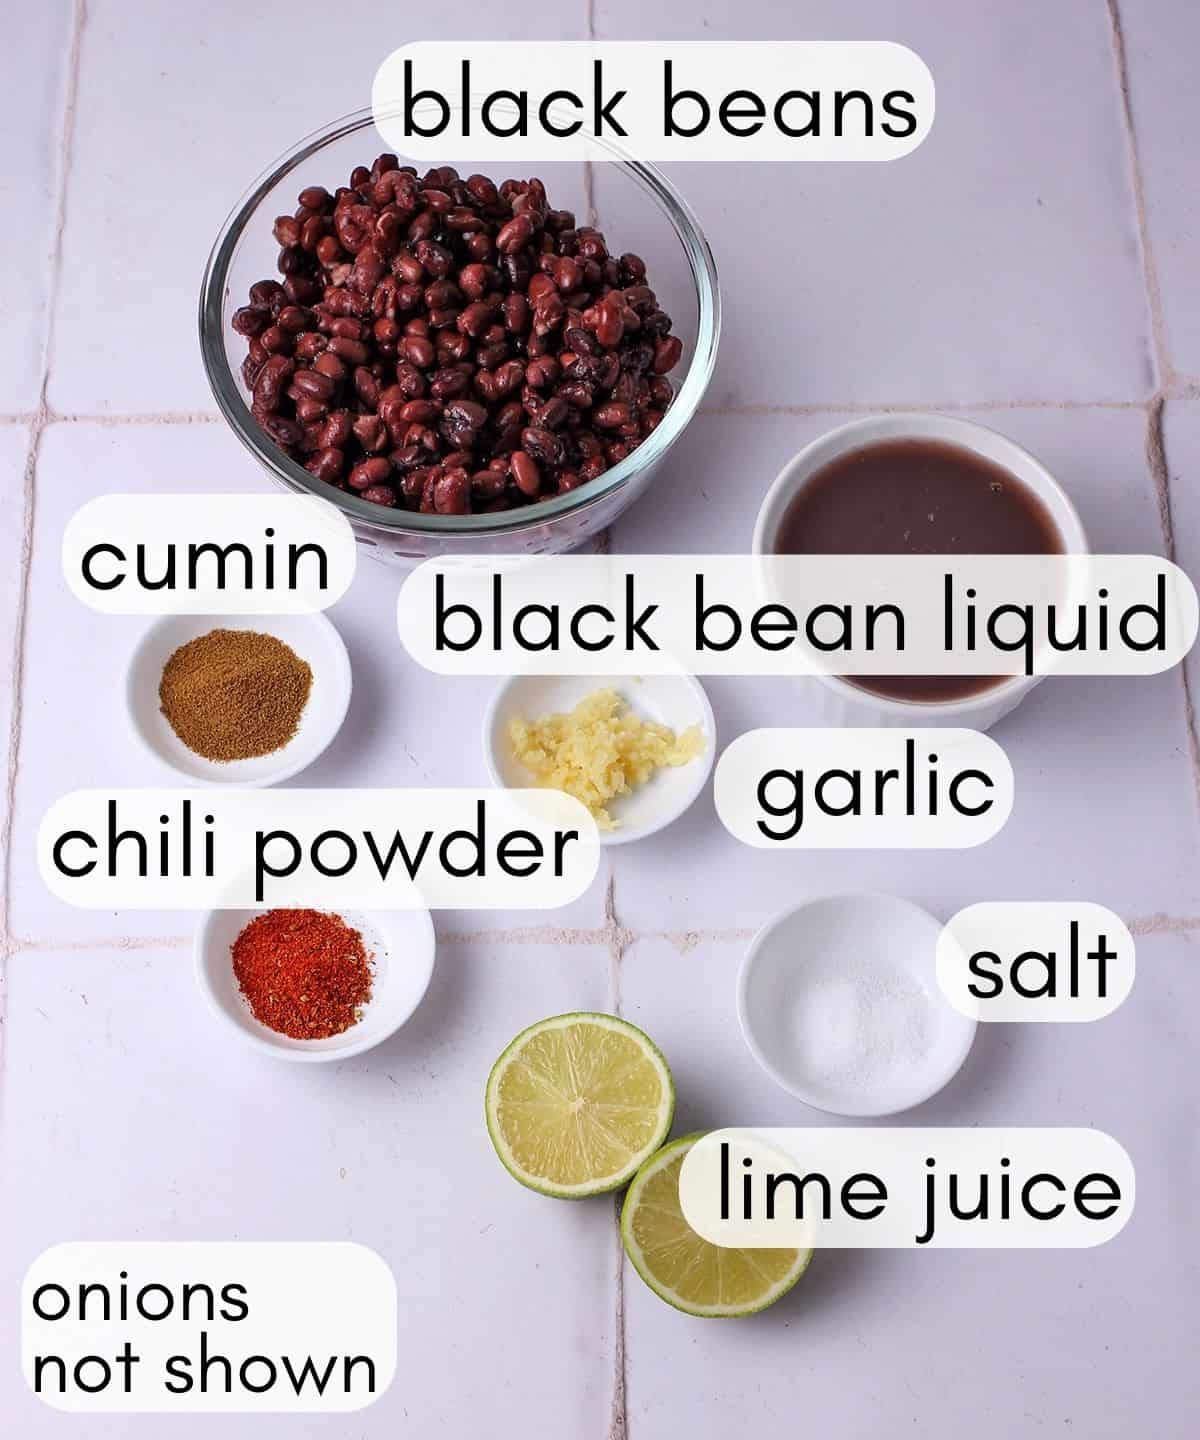
Black beans. Grab 3 regular cans of black beans (black turtle beans). You can make this exact recipe to make refried pinto beans.
Garlic. Garlic cloves have the freshest flavor or use ½ teaspoon of garlic powder.
Chili powder. Use your favorite Mexican-style chili powder, or try my flavorful homemade chili powder blend. Use a pinch of cayenne pepper or red chili flakes as a substitute.
Please see the recipe card at the bottom of this post for the complete list of ingredients with measurements plus recipe instructions.
📖 Recipe Variations
Make this recipe with dry black beans in the Instant Pot, my flavorful stovetop black beans recipe, and the cooking liquid.
⏲️ Step-by-Step Instructions
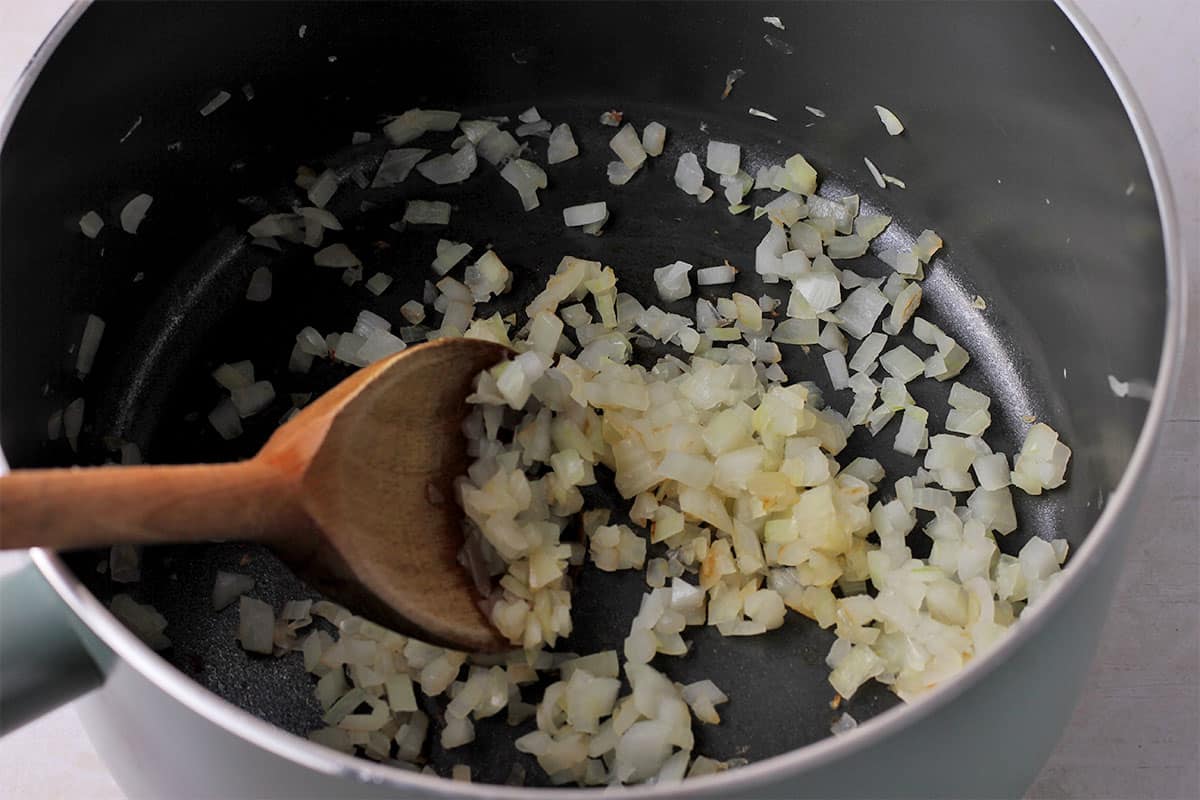
Step 1: Cook the onions over medium heat for 2-3 minutes.
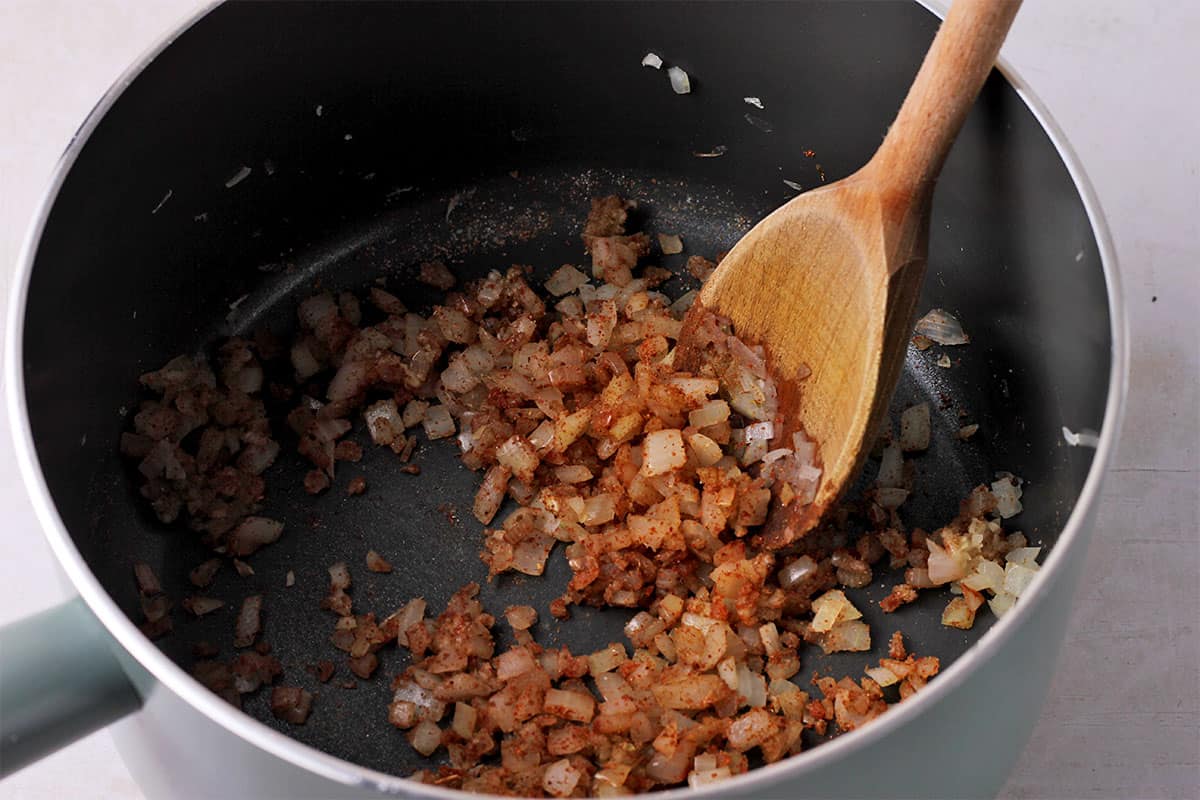
Step 2: Stir in the garlic and spices.
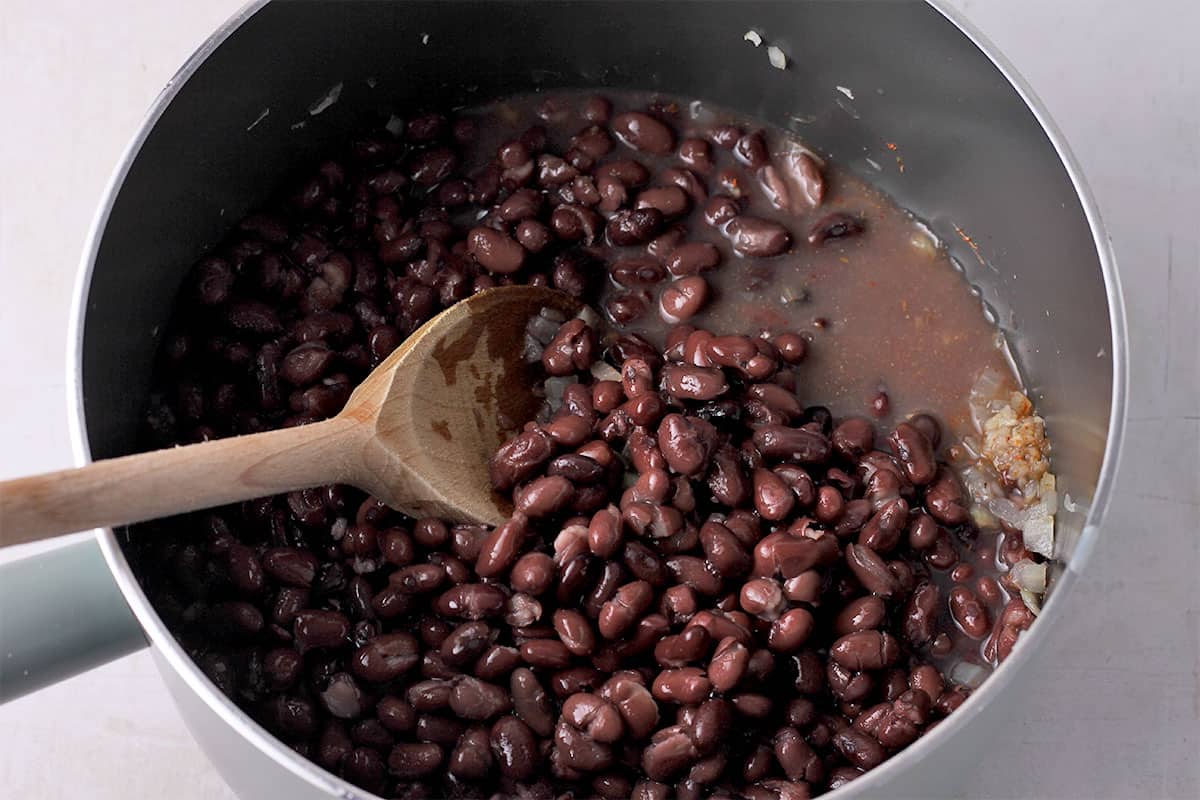
Step 3: Add the black beans and aquafaba. Simmer for 10 minutes.
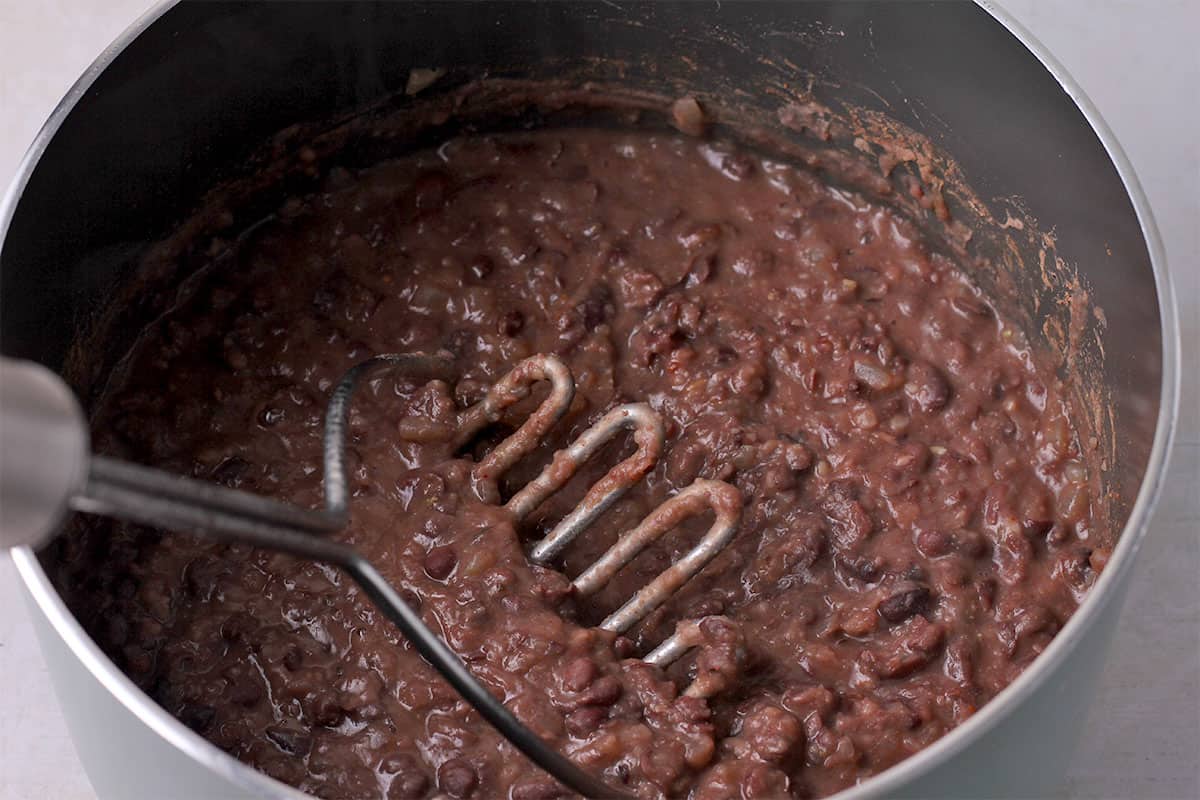
Step 4: Mash the beans using a potato masher or immersion blender.
🔪 Pro Tips
When cooking vegetables without oil, always heat the pan first. This keeps the veggies from sticking.
If you want super creamy, fluffy beans, blend them in a food processor or blender.
🌯 Serving Suggestions
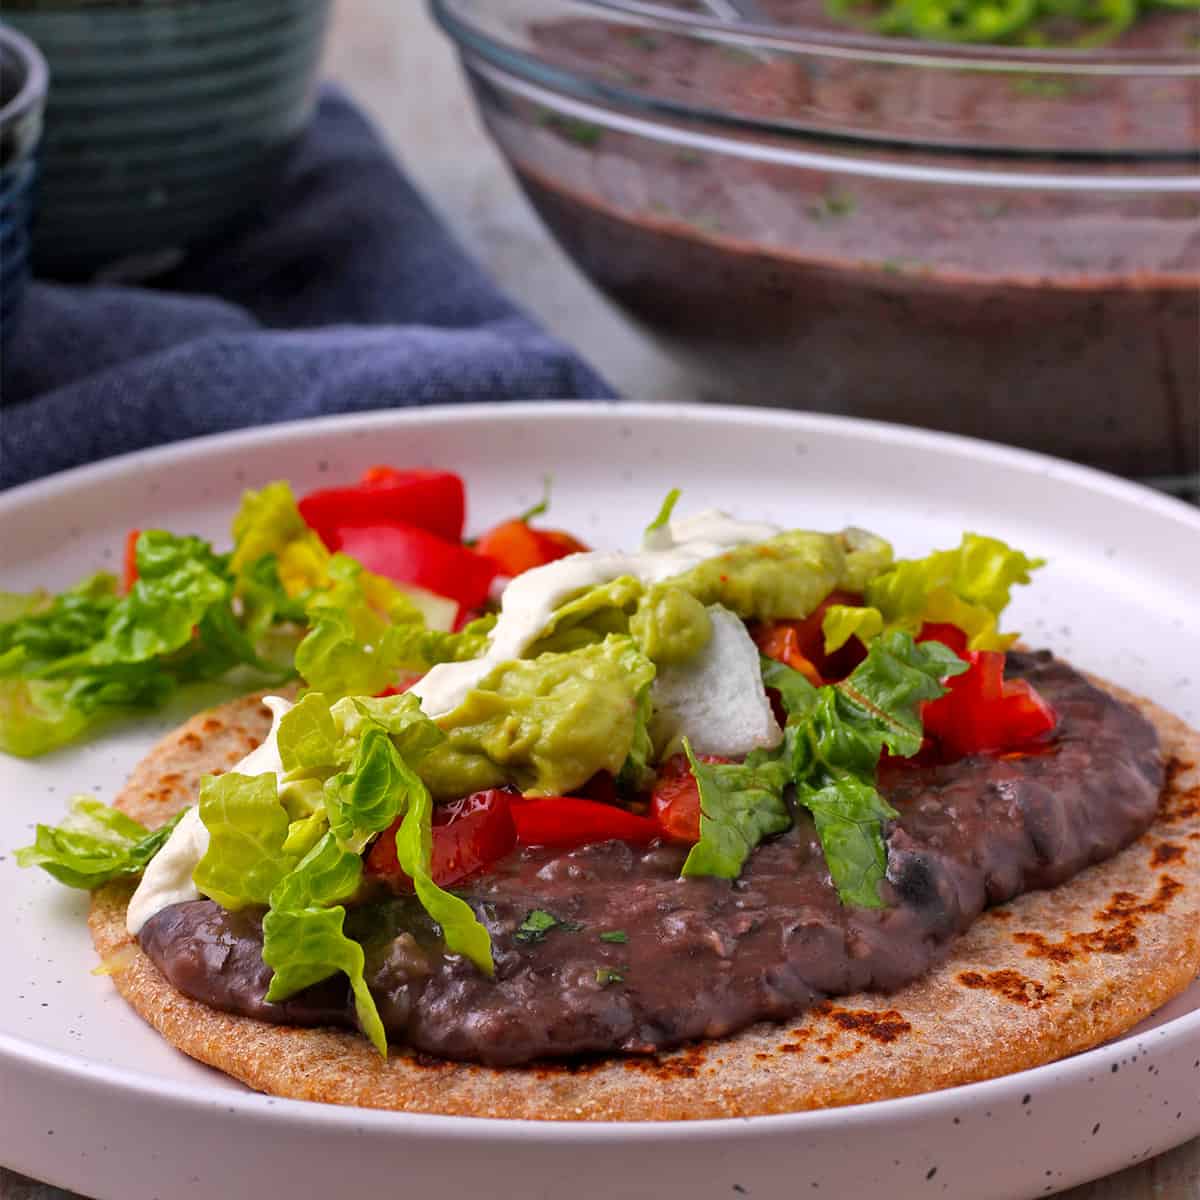
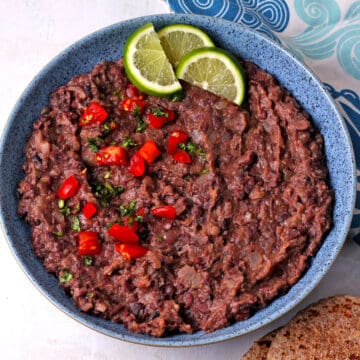
Creamy refried black beans are the perfect side dish for any Mexican meal (if you can stop eating them straight from the pan). Garnish with lime wedges, chopped fresh cilantro, or a dash of your favorite hot sauce.
Grab a bag of tortilla chips or bake homemade oil-free yellow corn tortillas and make a layered dip with spicy Venezuelan guasacaca, salsa, or mango salsa fresco.
💭 Frequently Asked Questions
Store refried beans in an airtight container in the refrigerator for 5 days. Reheat on low heat on the stove with a little water or vegetable broth added. Or reheat in the microwave.
Freeze refried beans in a freezer-safe container or freezer bag for 3 months. Thaw before reheating.
No. The word refried is a translation of the Spanish term frijoles refritos, in which refritos means well fried. There's no frying involved, just a softening of the beans by cooking them in water or another liquid.
The terms might be used interchangeably, but black beans, frijoles negros, and refried beans, frijoles refritos, are not the same. Traditional refried beans are often made with pinto beans rather than black turtle beans.
🥘 More Vegan Black Beans Recipes


Hungry for more? Subscribe to my newsletter and follow me on Facebook, Pinterest, and Instagram for all the newest recipes!
👩🏻🍳 Recipe
Easy Homemade Refried Black Beans
Rate this Recipe:
Ingredients
- 1 small onion - diced, 1 cup
- 2 cloves garlic - minced or pressed or ½ teaspoon garlic powder
- 1 teaspoon ground cumin
- ½ teaspoon chili powder
- 3 cups black beans - 2 cans, reserve ⅔ cup liquid
- 2 tablespoons lime juice
Instructions
- Heat a medium saucepan over medium heat. Add the onions and cook them for 2-3 minutes to soften them. Stir constantly. Add a tablespoon of water if they start to stick.
- Stir in the garlic, cumin, chili powder, and salt. Mix with the onions.
- Add the black beans and liquid from the can (⅔ cup). Cover and simmer the beans for 10 minutes.
- Remove the pan from the heat. Use a potato masher or stick blender (immersion blender) to mash the beans to the desired consistency.
Notes
- Store refried beans in an airtight container for 5 days in the refrigerator or 3 months in the freezer.
- Try this recipe out with different beans, including pinto, or sturdy white beans such as navy or haricot. You can also use adzuki beans.
- Garnish with chopped fresh cilantro, lime wedges, or add extra flavor with a splash of Mexican-style hot sauce.
Nutrition
Nutritional information is an estimation only.


Leave a Reply